This week's maps were a lot of fun to work with. We are working with Spatial Data Modeling now and the first two maps used vector data like we have been but we were able to add and delete certain data from our layers to create the map we needed and presented the information well. We also created a topo map using raster data which was pretty interesting.

This Mexican States map was great to work with, I liked learning how to create and add different layers.
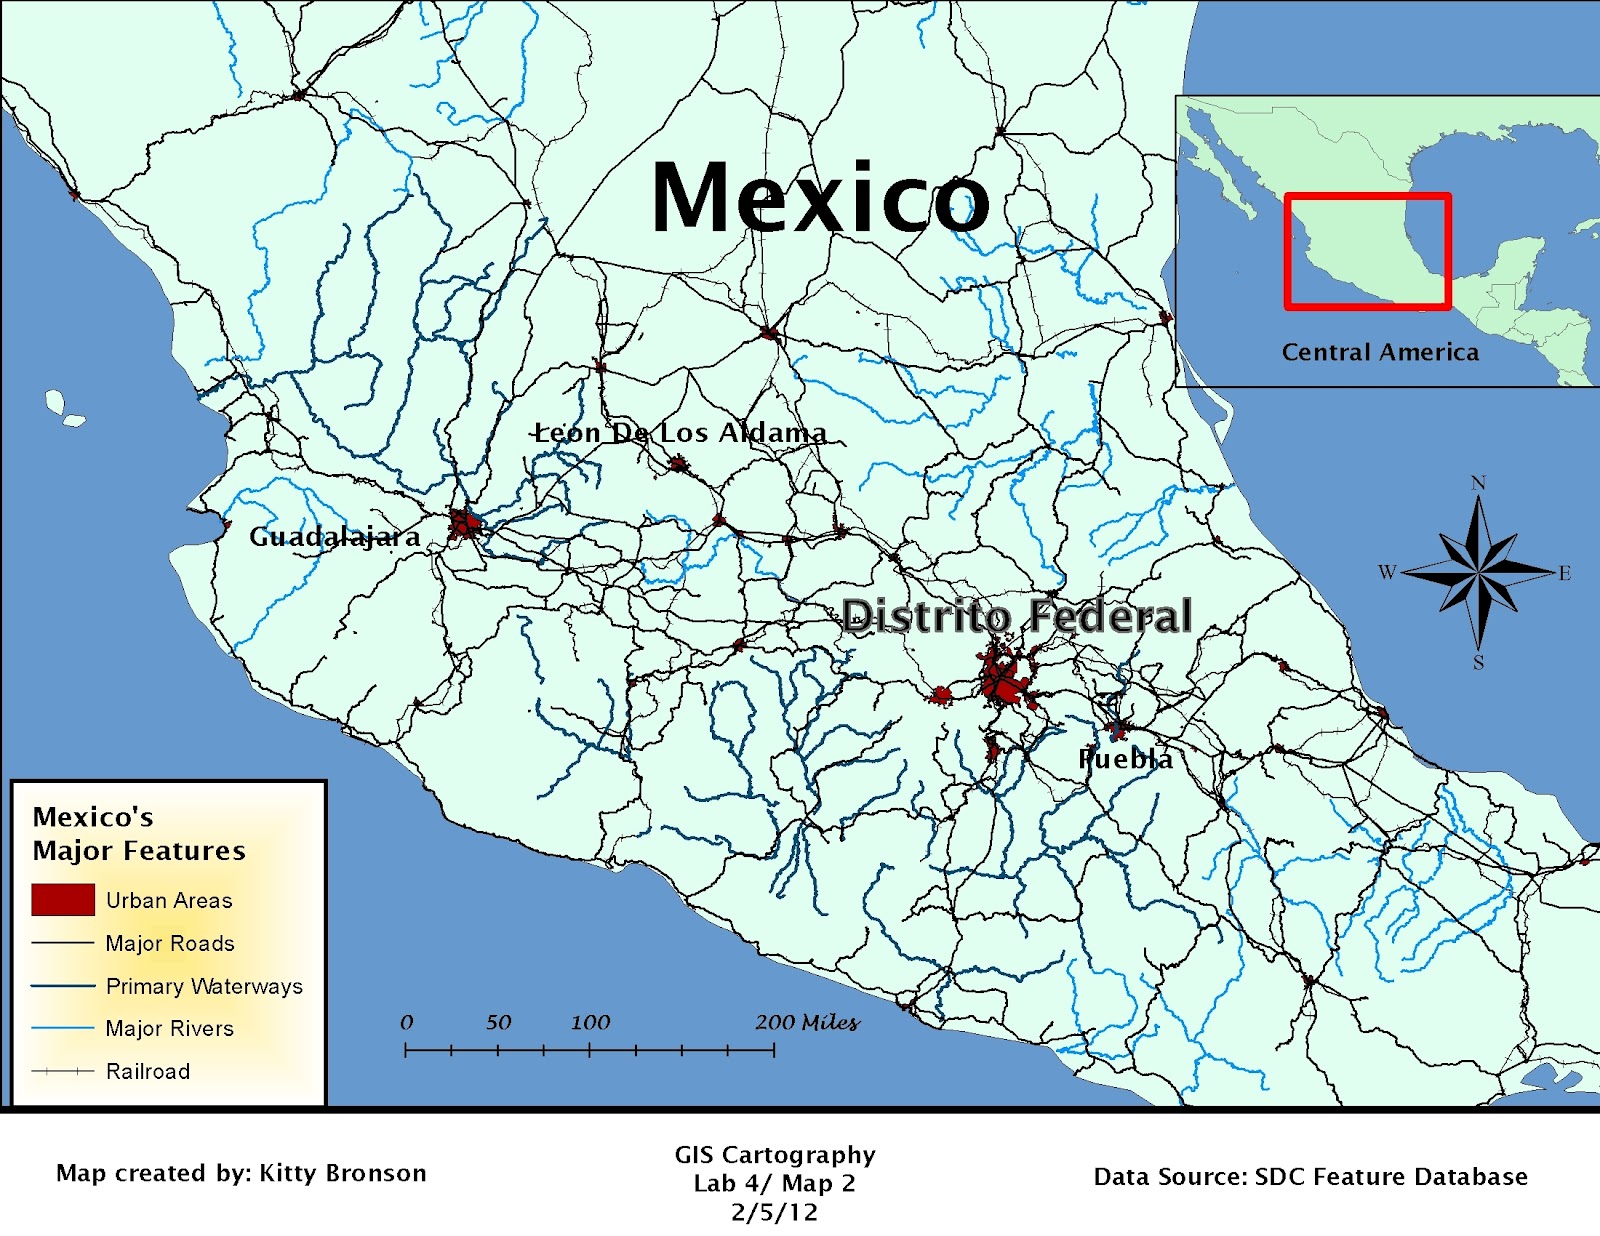 This map of Mexico with specific major features like roads, rivers and cities named by certain population values was a little challenging. Getting the information to show on the map and not look too cluttered took a bit of adjustment and introducing the city names gave me some issues until I figured out what I was doing wrong. This was a good map to learn from.
 This topo map uses raster data and was not too challenging but paying attention to detail about color and information needed (or not needed) for the legend and such was important.
Working on the same map while interchanging layers and data was pretty neat, I learned a lot playing around with it while following the instructions. Hopefully I ended up with what we were supposed to show!
Process Summary:
Map 1
1. Extracted R:drive Intro2GIS/GISCartography to S:drive Week4_GISCartography_cmb.zip
2. Opened ArcCatalog, right clicked 'folder connections', chose GISCartography, looked at the 'mex_elev' raster file in preview, zoomed in on DEM but no box appeared asking about 'building pyramids'
3. Followed the instructions exploring ArcCatalog properties and answering questions. 4. Opened ArcMap and drag and dropped the 'World_Countries' shapefile from ArcCatalog to ArcMap. My pointer did not change as the instructions suggested it would.
5. Added the 'Mex_boundary' and 'Americas_Admin' layers
6. Created the new 'Mex_states' layer from the 'Select by Attributes' and SQL query menu and exported it to my S:drive Week4_GISCartography_cmb folder as a shapefile. I didn't understand Q3 about how many administrative divisions were selected.
7. Turned off the "America_Admin' layer since we didn't need that information cluttering the map anymore.
8. Changed the symbol properties and added color gradient by population so that the states were coded by population density.
9. Added the names of the states to the map, added the essential elements with metadata, scale, title, legend and other map information.
10. exported as GISCarto_map1_cmb.jpg to h:drive assignment 4 folder and to S:drive
11. saved as GISCarto_map1_cmb.mxd to S:drive before starting to map
Map 2
1. Added layers 'mex_rails', 'mex_rivers', 'mex_roads' and 'mex_urban' and turned off 'mex_states' layer.
2. In the symbology properties for the four new layers, selected only the attributes I wanted to show, only the two primary waterbodies and major rivers, only the federal major roads, etc. Changed the symbols so they were more clearly identifyable on the map.
3. With the 'mex_urban' layer, we chose to only show the names for the cities with over a million in population, I followed the instructions to change the class features and method but was having a difficult time with all the cities becoming active on the map. I deleted the layer and started again and it worked fine.
4. I changed the font color, type and size of the city names after converting them to annotation. Finding a font style and size that worked on the very busy map was challenging. I found that I needed to go back and change the size of the rivers and waterways so they were not so bold and looked clearer.
5. Created the new inset map in the new data frame.
6. Changed and added to the essential elements of the map.
7. Exported map as GISCarto_map2_cmb.jpg to S:drive and H:drive assignment 4 folder.
8. saved a copy of the mxd as GISCarto_map2_cmb.mxd to the S:drive
Map 3
1. Removed all the layers except the 'world_countries' from map.
2. Added 'mex_elev' raster layer and explored the stretched and classified symbol properties.
3. Chose a color ramp and reworked the other essential elements of the map.
4. Exported map as GISCarto_map3_cmb.jpg to S:drive and H:drive assignment 4 folder.
No comments:
Post a Comment